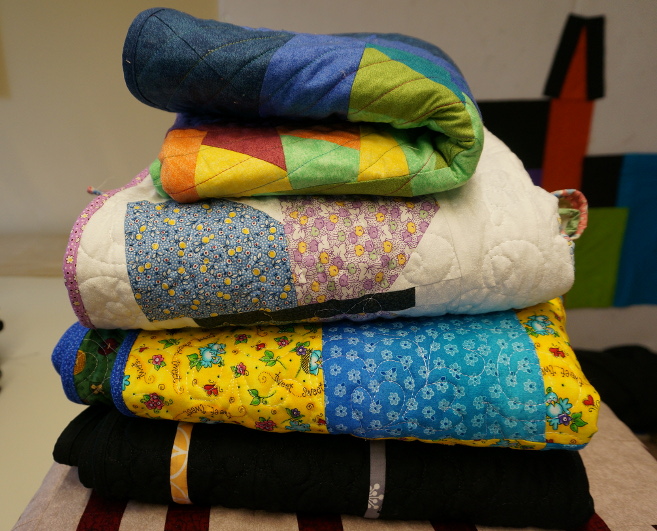
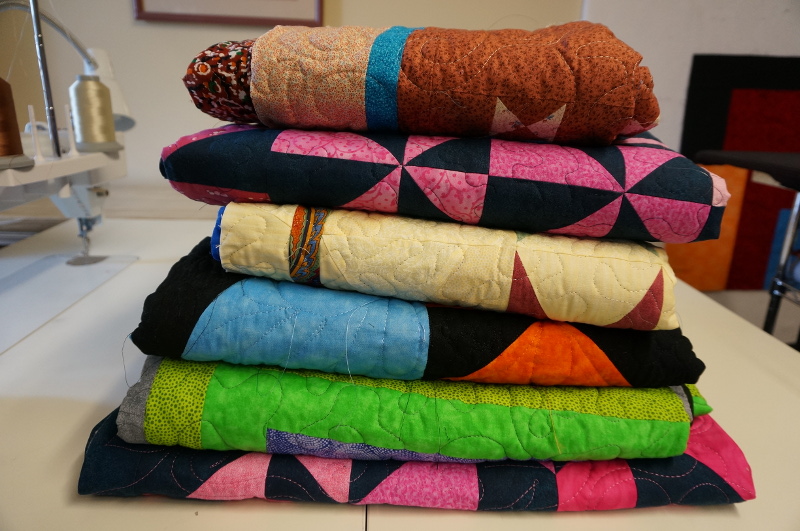
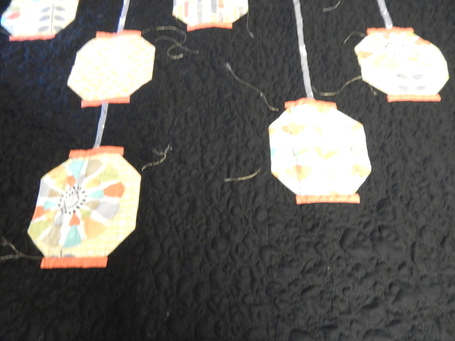
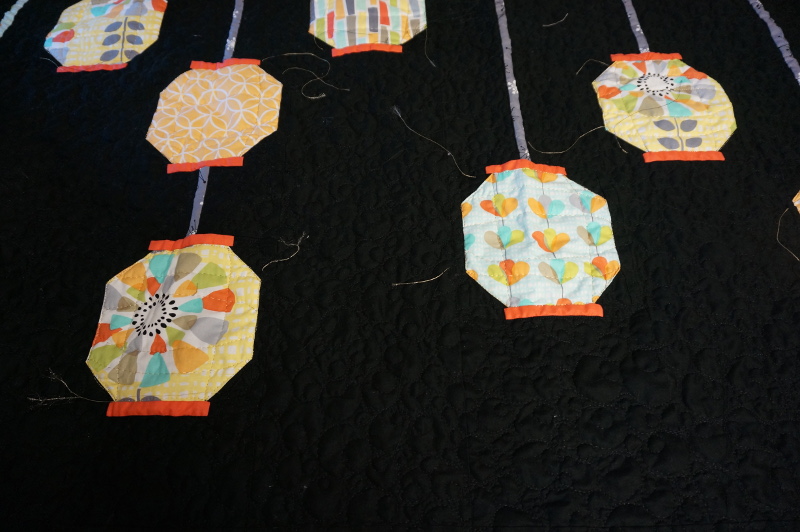
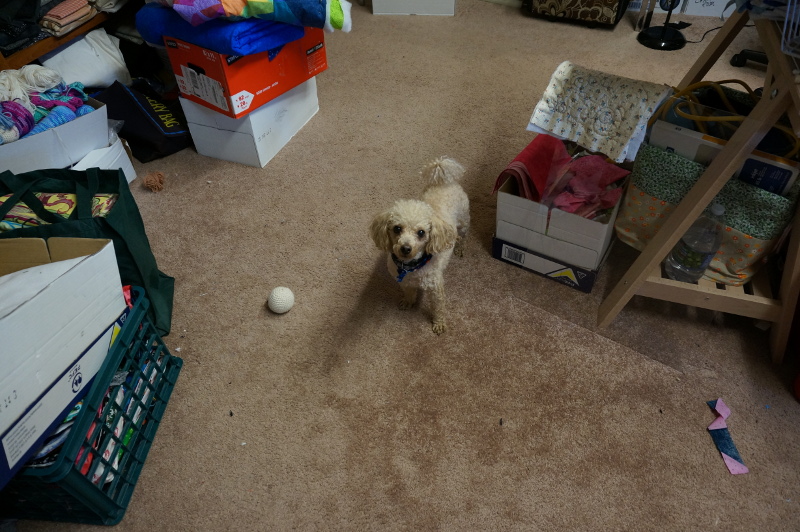
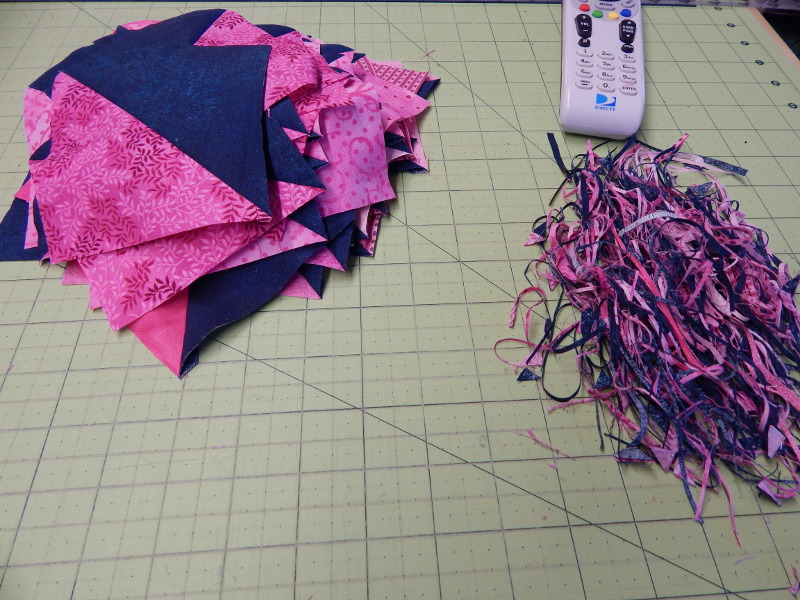
Working through my stack of UFO's - and trying to locate some of them. Seriously? Where are they? They aren't done. They should be in my UFO box or stack and they aren't - I have two more pictures of ones I just finished.
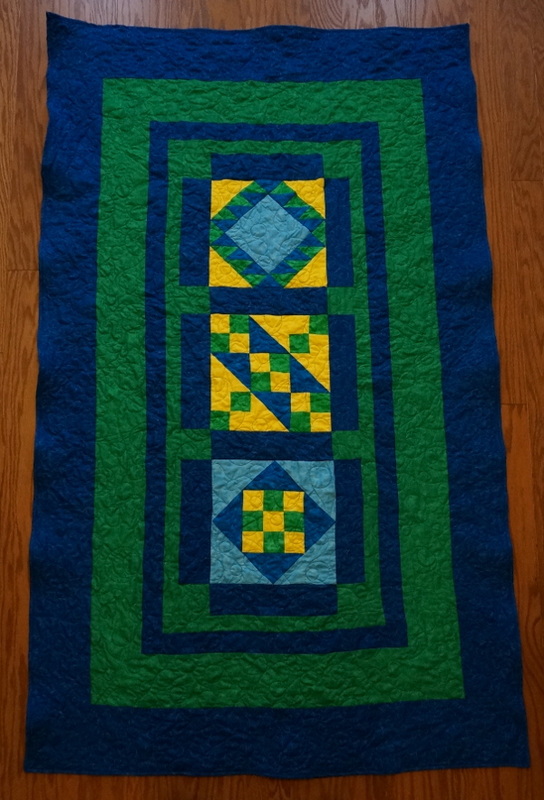
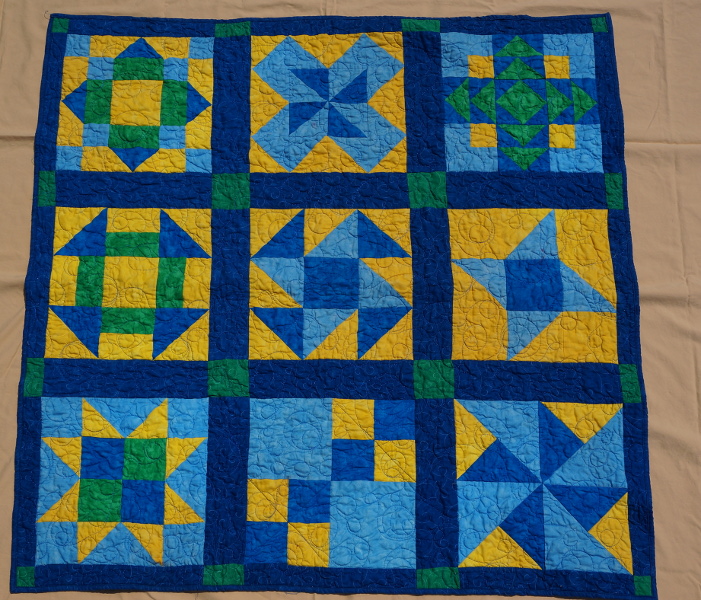
I finished the binding on the blue yellow green one this morning. It is 44 1/2 x 73 1/2" and will be donated to a local charity. It is the remainder of the big thrift store quilt which my friend and I chopped in half and made in to two. I've already taken credit for the first half of that quilt so this doesn't go towards an entry in the drawing at the end but I wanted to get a picture of it posted anyway. It's quite nice and I'm sure that some child will be comforted by it even if my binding isn't 100% perfect - or at least I hope so. :)
I finished the binding on the blue yellow green one this morning. It is 44 1/2 x 73 1/2" and will be donated to a local charity. It is the remainder of the big thrift store quilt which my friend and I chopped in half and made in to two. I've already taken credit for the first half of that quilt so this doesn't go towards an entry in the drawing at the end but I wanted to get a picture of it posted anyway. It's quite nice and I'm sure that some child will be comforted by it even if my binding isn't 100% perfect - or at least I hope so. :)
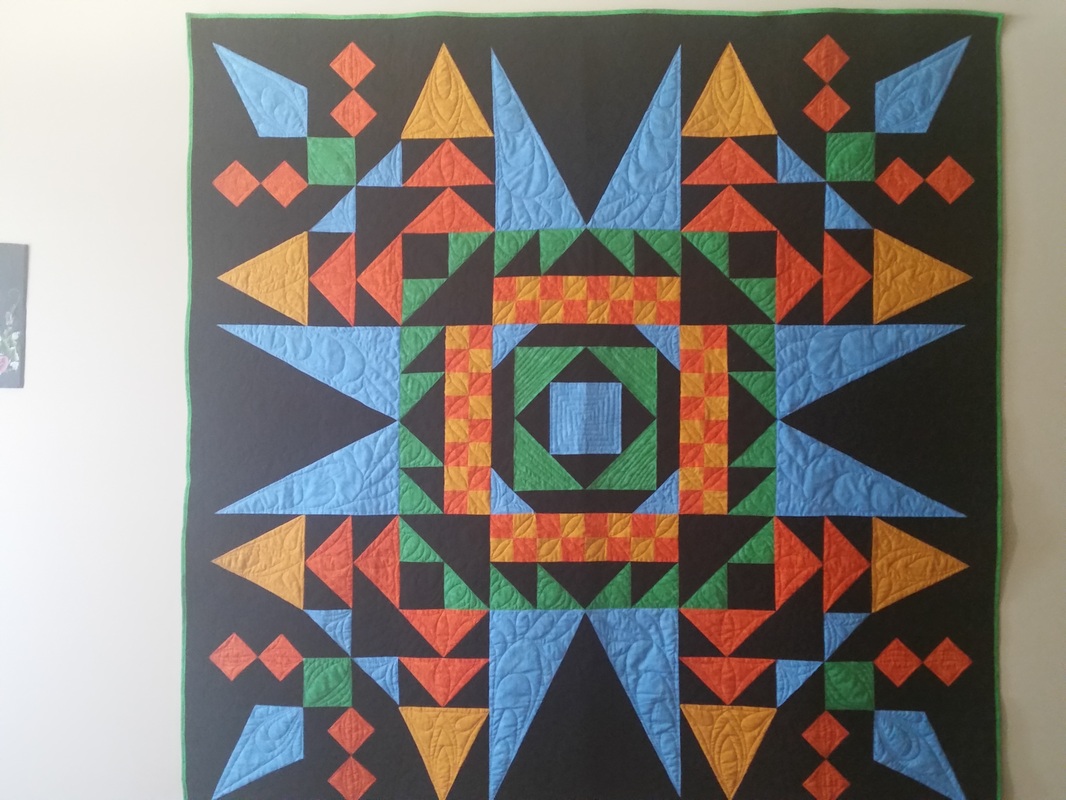
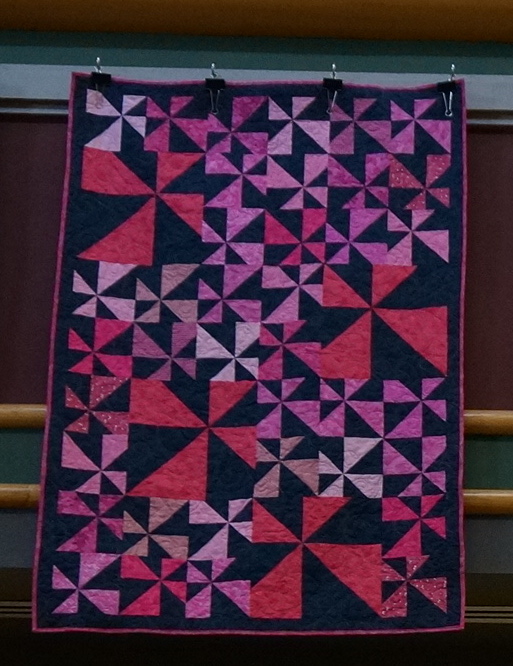
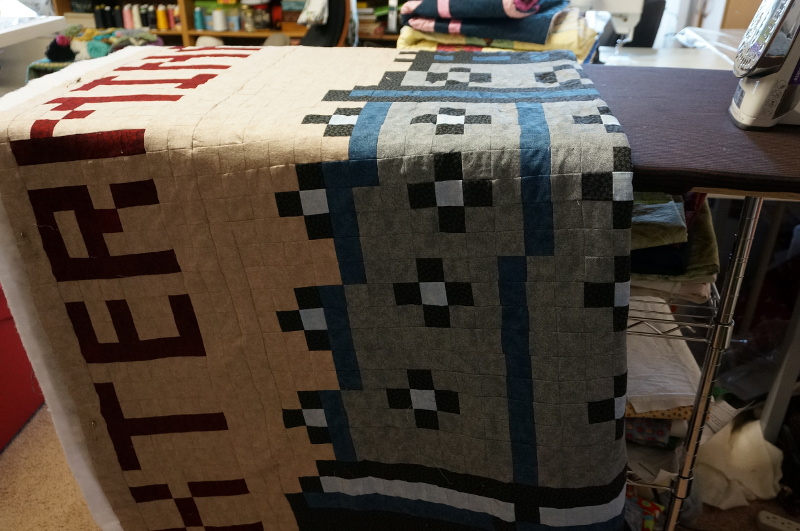
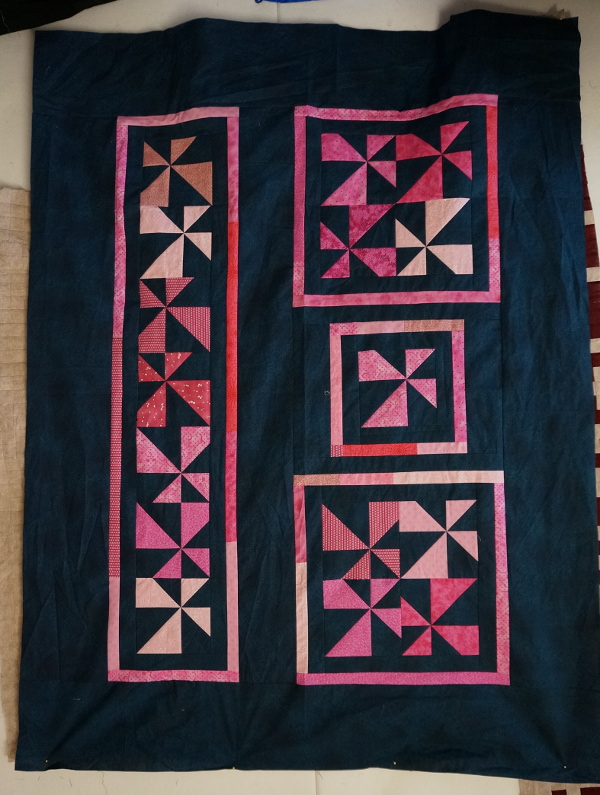
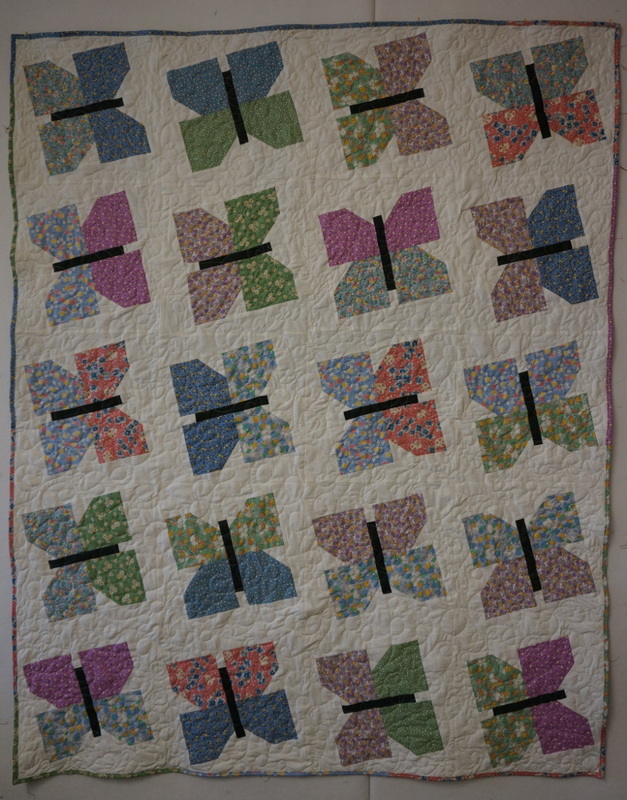
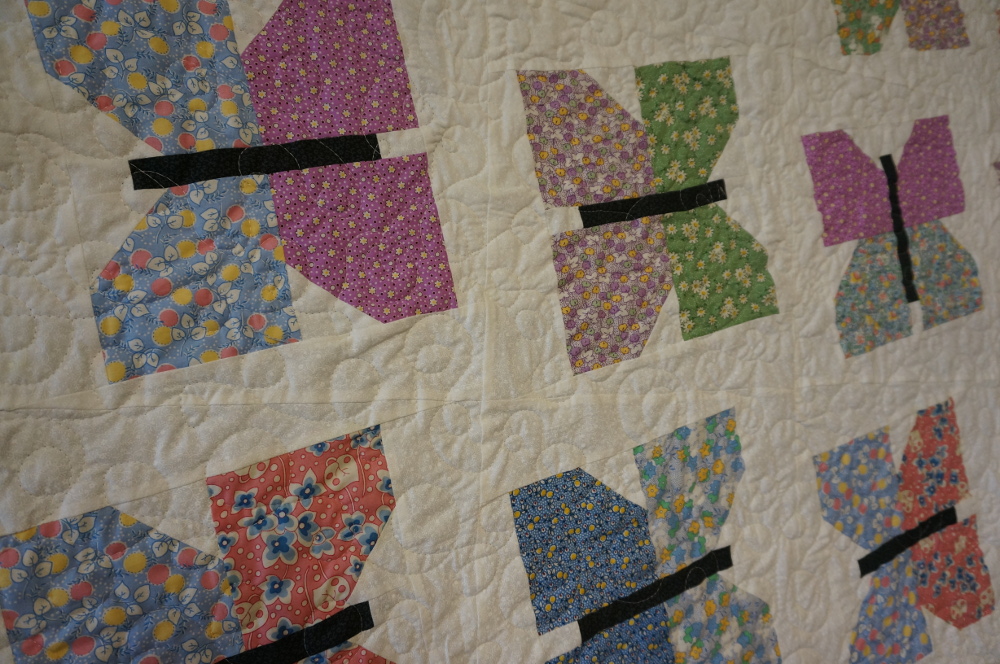
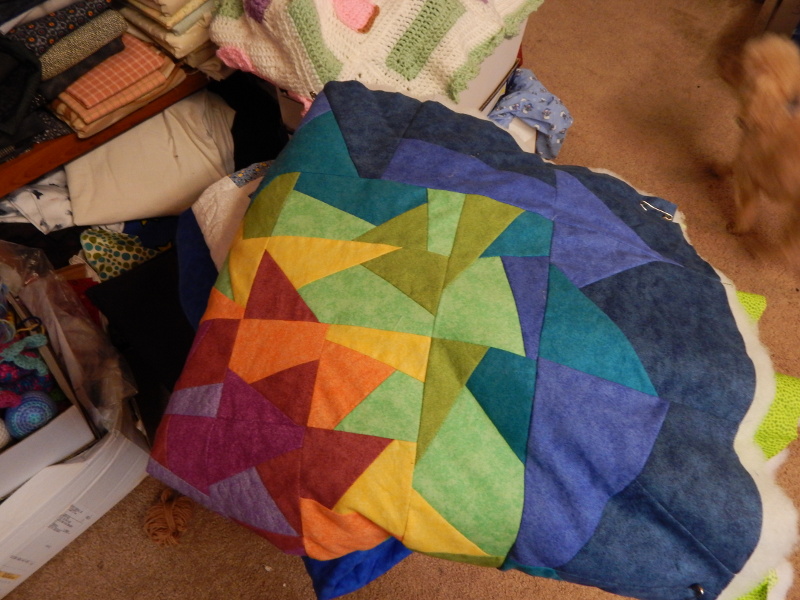
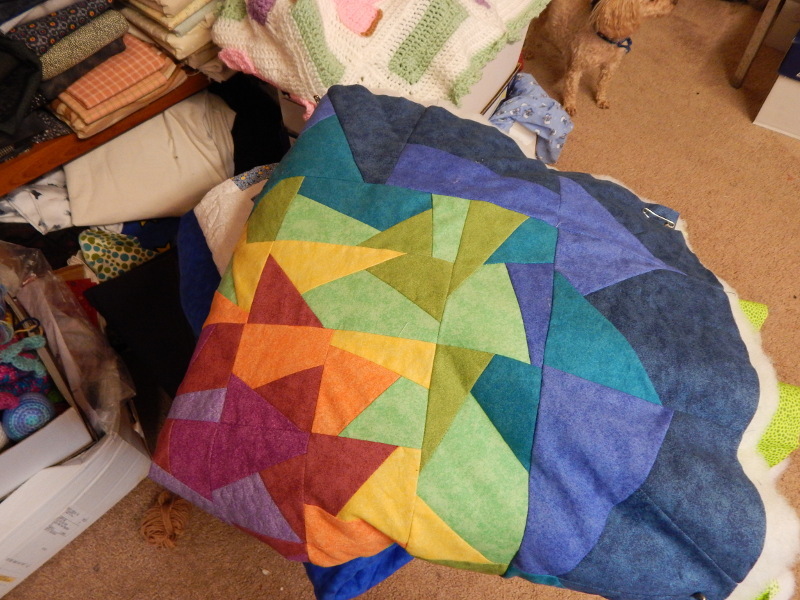
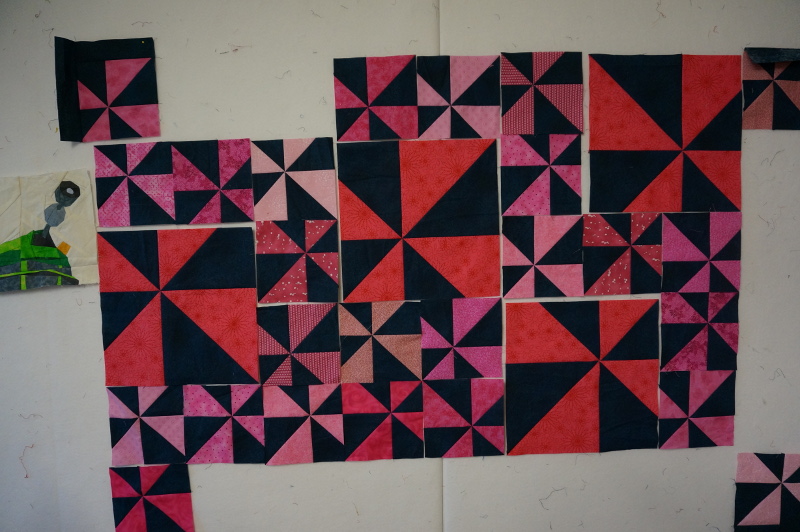
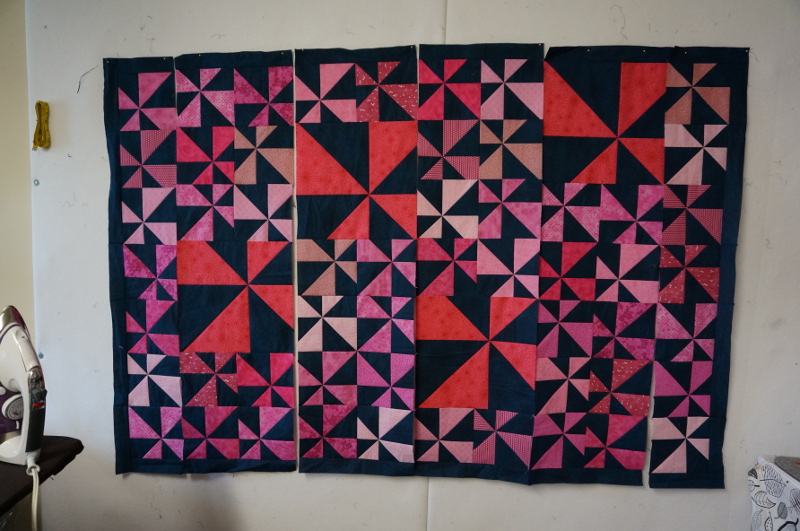
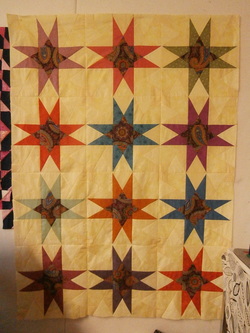
This next finished quilt is very special to me. I would keep it but I really don't have a reason to. It is the very first top I pieced. This top has been laying unfinished for over 7 years. Go figure. I'm glad that I got it quilted and bound. It will also be donated to a local charity. I hope that it will bring a smile to some child going through a rough time.
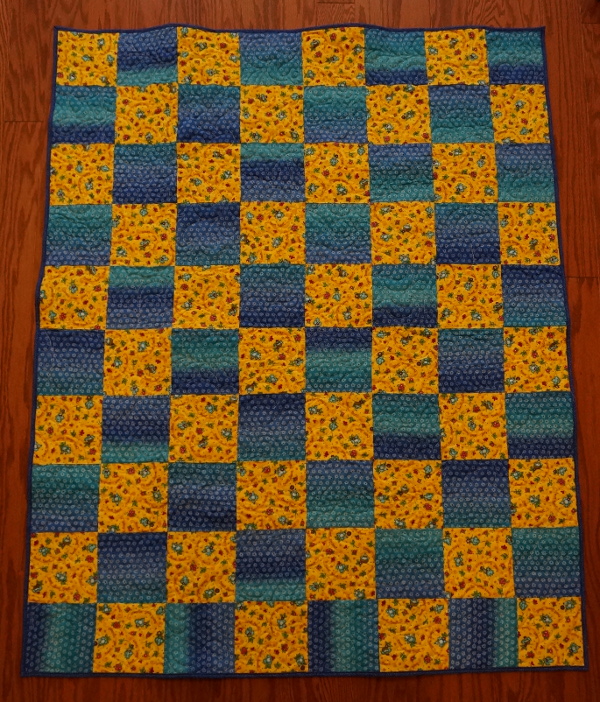
And the back...
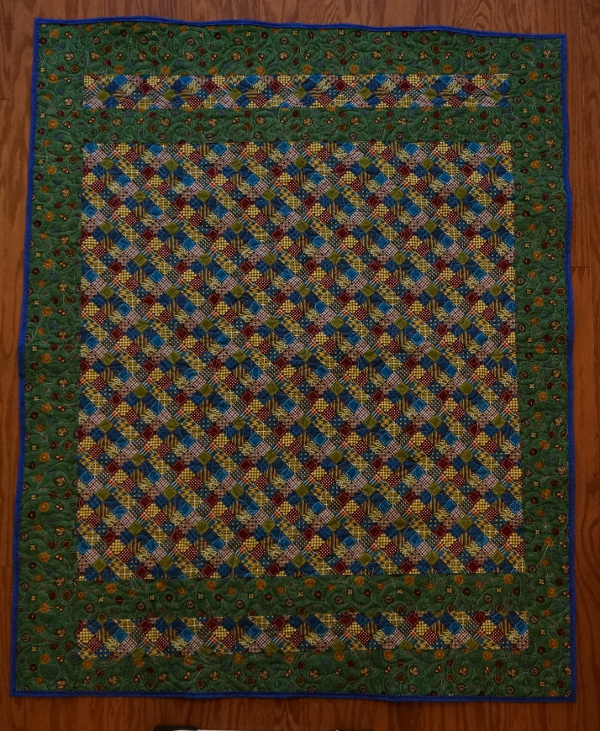
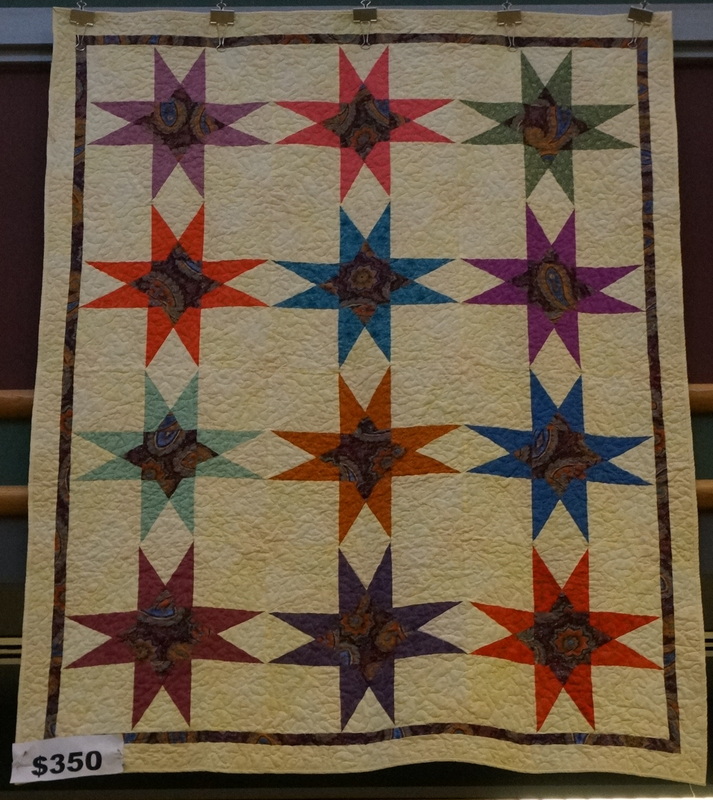
This one is 42 1/2 x 53 1/2.
Man, I wish I would have brought some lights down to take these pictures.
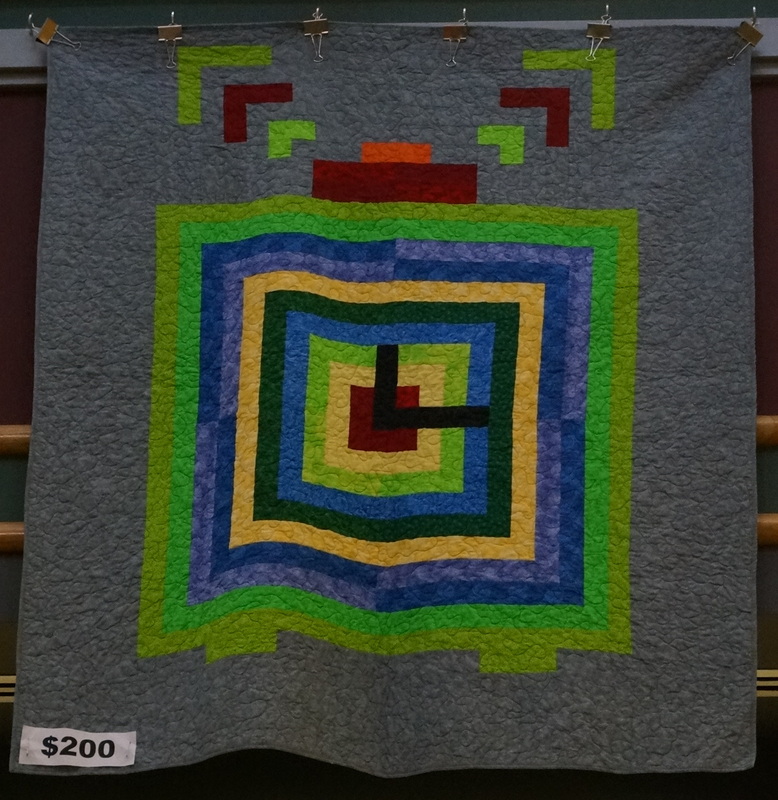
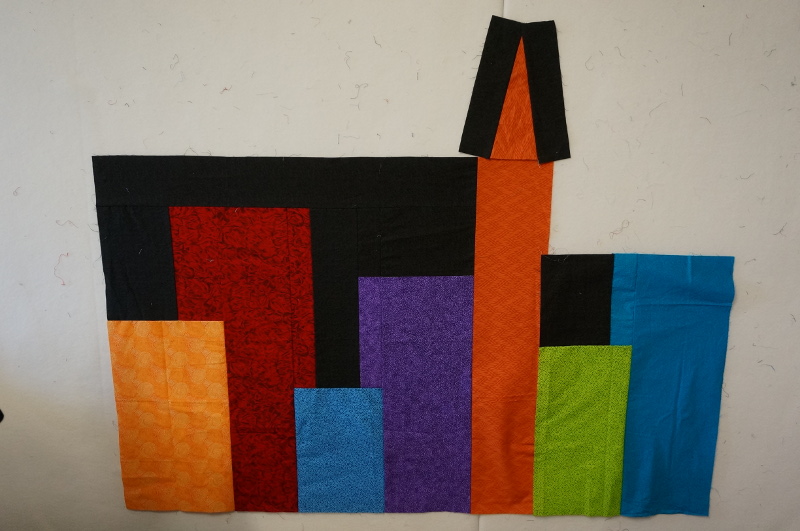
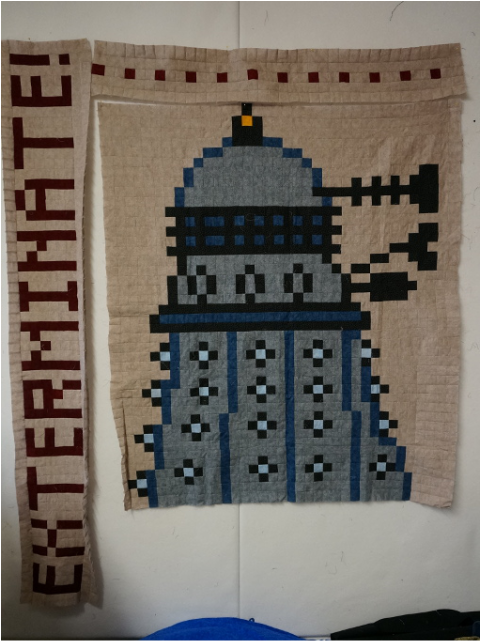
On a different note, I will be releasing a new video and picture tutorial sometime in the not so distant future. I came up with a brainstorm on how to hang quilts in the house thanks to a conversation with someone at the Magnificent Quilt Hanging company. I was going to do a magnetic hang but this actually ends up being A LOT cheaper and super easy. David and I tried it out this weekend and hung a quilt in our hallway
I could not get the entire quilt in the picture thanks to the opposite wall being in my way and I have a very wide foyer/hallway. I almost got it all in the shot though. I really like this quilt a lot. I'm so glad I finally finished it! This was also a Finish Along Q3 finish for me.
Man, I wish I would have brought some lights down to take these pictures.
On a different note, I will be releasing a new video and picture tutorial sometime in the not so distant future. I came up with a brainstorm on how to hang quilts in the house thanks to a conversation with someone at the Magnificent Quilt Hanging company. I was going to do a magnetic hang but this actually ends up being A LOT cheaper and super easy. David and I tried it out this weekend and hung a quilt in our hallway
I could not get the entire quilt in the picture thanks to the opposite wall being in my way and I have a very wide foyer/hallway. I almost got it all in the shot though. I really like this quilt a lot. I'm so glad I finally finished it! This was also a Finish Along Q3 finish for me.


 RSS Feed
